Ultimate Knowledge About Wavlink Repeater Setup
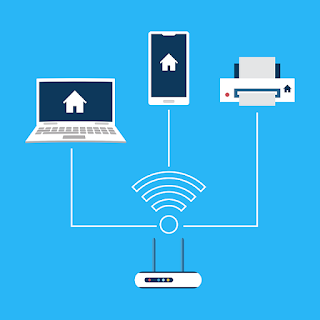
Say goodbye to the bad internet when you get yourself the Wavlink wifi repeater. Wavlink wifi repeaters reach the areas of your home that your wireless router couldn’t reach. You just need to perform the wavlink repeater setup and then you can extend the internet signals in your home and also enjoy enhanced signal strength. After the setup, you have to do wavlink repeater login and then you can access the repeater’s configuration settings from the browser. Manage and control your wavlink wifi repeater easily. In this blog, you will learn how to do wavlink repeater setup and login in easy steps, so hook on to know more.
Stepwise Instructions For Wavlink Repeater Setup -
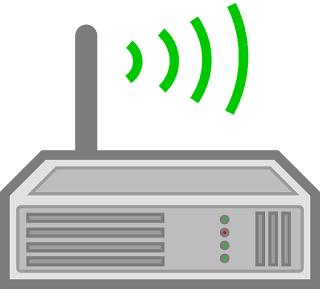
Before starting to use the wavlink repeater you need to set it up with your wifi router. For this method, you must ensure that both your Wavlink wifi repeater and the wireless router have a WPS push-button on them. Even if one of the two devices doesn’t have a physical WPS button, then this method can’t be taken forward. Follow the steps carefully to proceed with the Wavlink repeater setup:
The first and foremost step is to switch on your Wavlink wifi repeater by plugging it into a fully functional power supply socket.
Then, plug in your wireless router and then switch it on too. Ensure this wireless router has a WPS button on it.
Now, make sure that you keep the Wavlink wifi repeater close to the wifi router until the setup process is complete.
Then, look for the physical WPS push button on your wifi router and the Wavlink wifi repeater.
To start the setup, press the WPS button on the wireless router network and the Wavlink wifi repeater.
Wait patiently for the connectivity to complete.
In some time you will observe that the green LED light is lit and the connection is successful.
After completing the Wavlink repeater setup you must proceed with the Wavlink repeater login to manage and control the network configuration settings of the repeater. For logging into the Wavlink wifi repeater follow the steps carefully:
First of all, connect the router wire to your PC device.
Utilize your wireless router network alternatively.
It is recommended to use the wired connection so that there is no risk of suddenly being logged out while you are trying to save the settings of the repeater.
On your PC device, launch the preferred web browser and enter the IP address of your Wavlink wifi repeater in the address filed i.e. 192.168.10.1.
On the next webpage that appears, fill in the username and password of your wifi router by going to the admin panel.
In case, you don’t know the username and password try logging in using the default username and password.
Never See You Poor Internet!
Once you complete the Wavlink repeater setup and login you can enjoy the extended network and enhanced internet speed. When you complete the Wavlink repeater login you can have easy access to the network’s configuration settings. Manage the wifi repeater and make your desired settings to enjoy the best network.

Comments
Post a Comment